
My Van Build

Presenting the long overdue look inside the van I built. Here’s a bunch of random facts about it first:
It’s a Dodge Ram 2500.
Took about 4 months to build including approx. 1 month of engine/body work.
Couldn’t have done it without my two pals Braeden and Jason. Their constant help and patience throughout the build is the reason it’s so awesome.
Wood interior build took around 10 days. My father is a wood worker, I had a rough design and he made it come to life.

Aluminum Roof Rack:
- Bought off kijiji and painted black
- Mounted a ‘solar shower’ that can be pressurized through a schrader valve.
- Mounted two LED lights on back
- Installed backup camera mounted in the middle
Aluminum ladder.
Spray painted Rims black.
Installed rain covers over front windows to allow ventilation while raining.

*Not actually how I mount the surfboards.
Fan-Tastic 1200 Fan: Installed custom reverse switch to allow it to alternate directions.
x2 Renogy 100w Solar Panels: Installed to allow surfboard storage under.
- Installed on moving brackets to allow to prop up.
Installed wood boards to make into a ‘patio’ to sit up top.

Pull out drawer that I normally cook on.

Pull out drawer opens for storage.

The ‘garage’.

Installed swivel seat.
Smitty Built 6’ pull out awning on roof rack.
Installed completely upgraded sound system with 6” subwoofer.
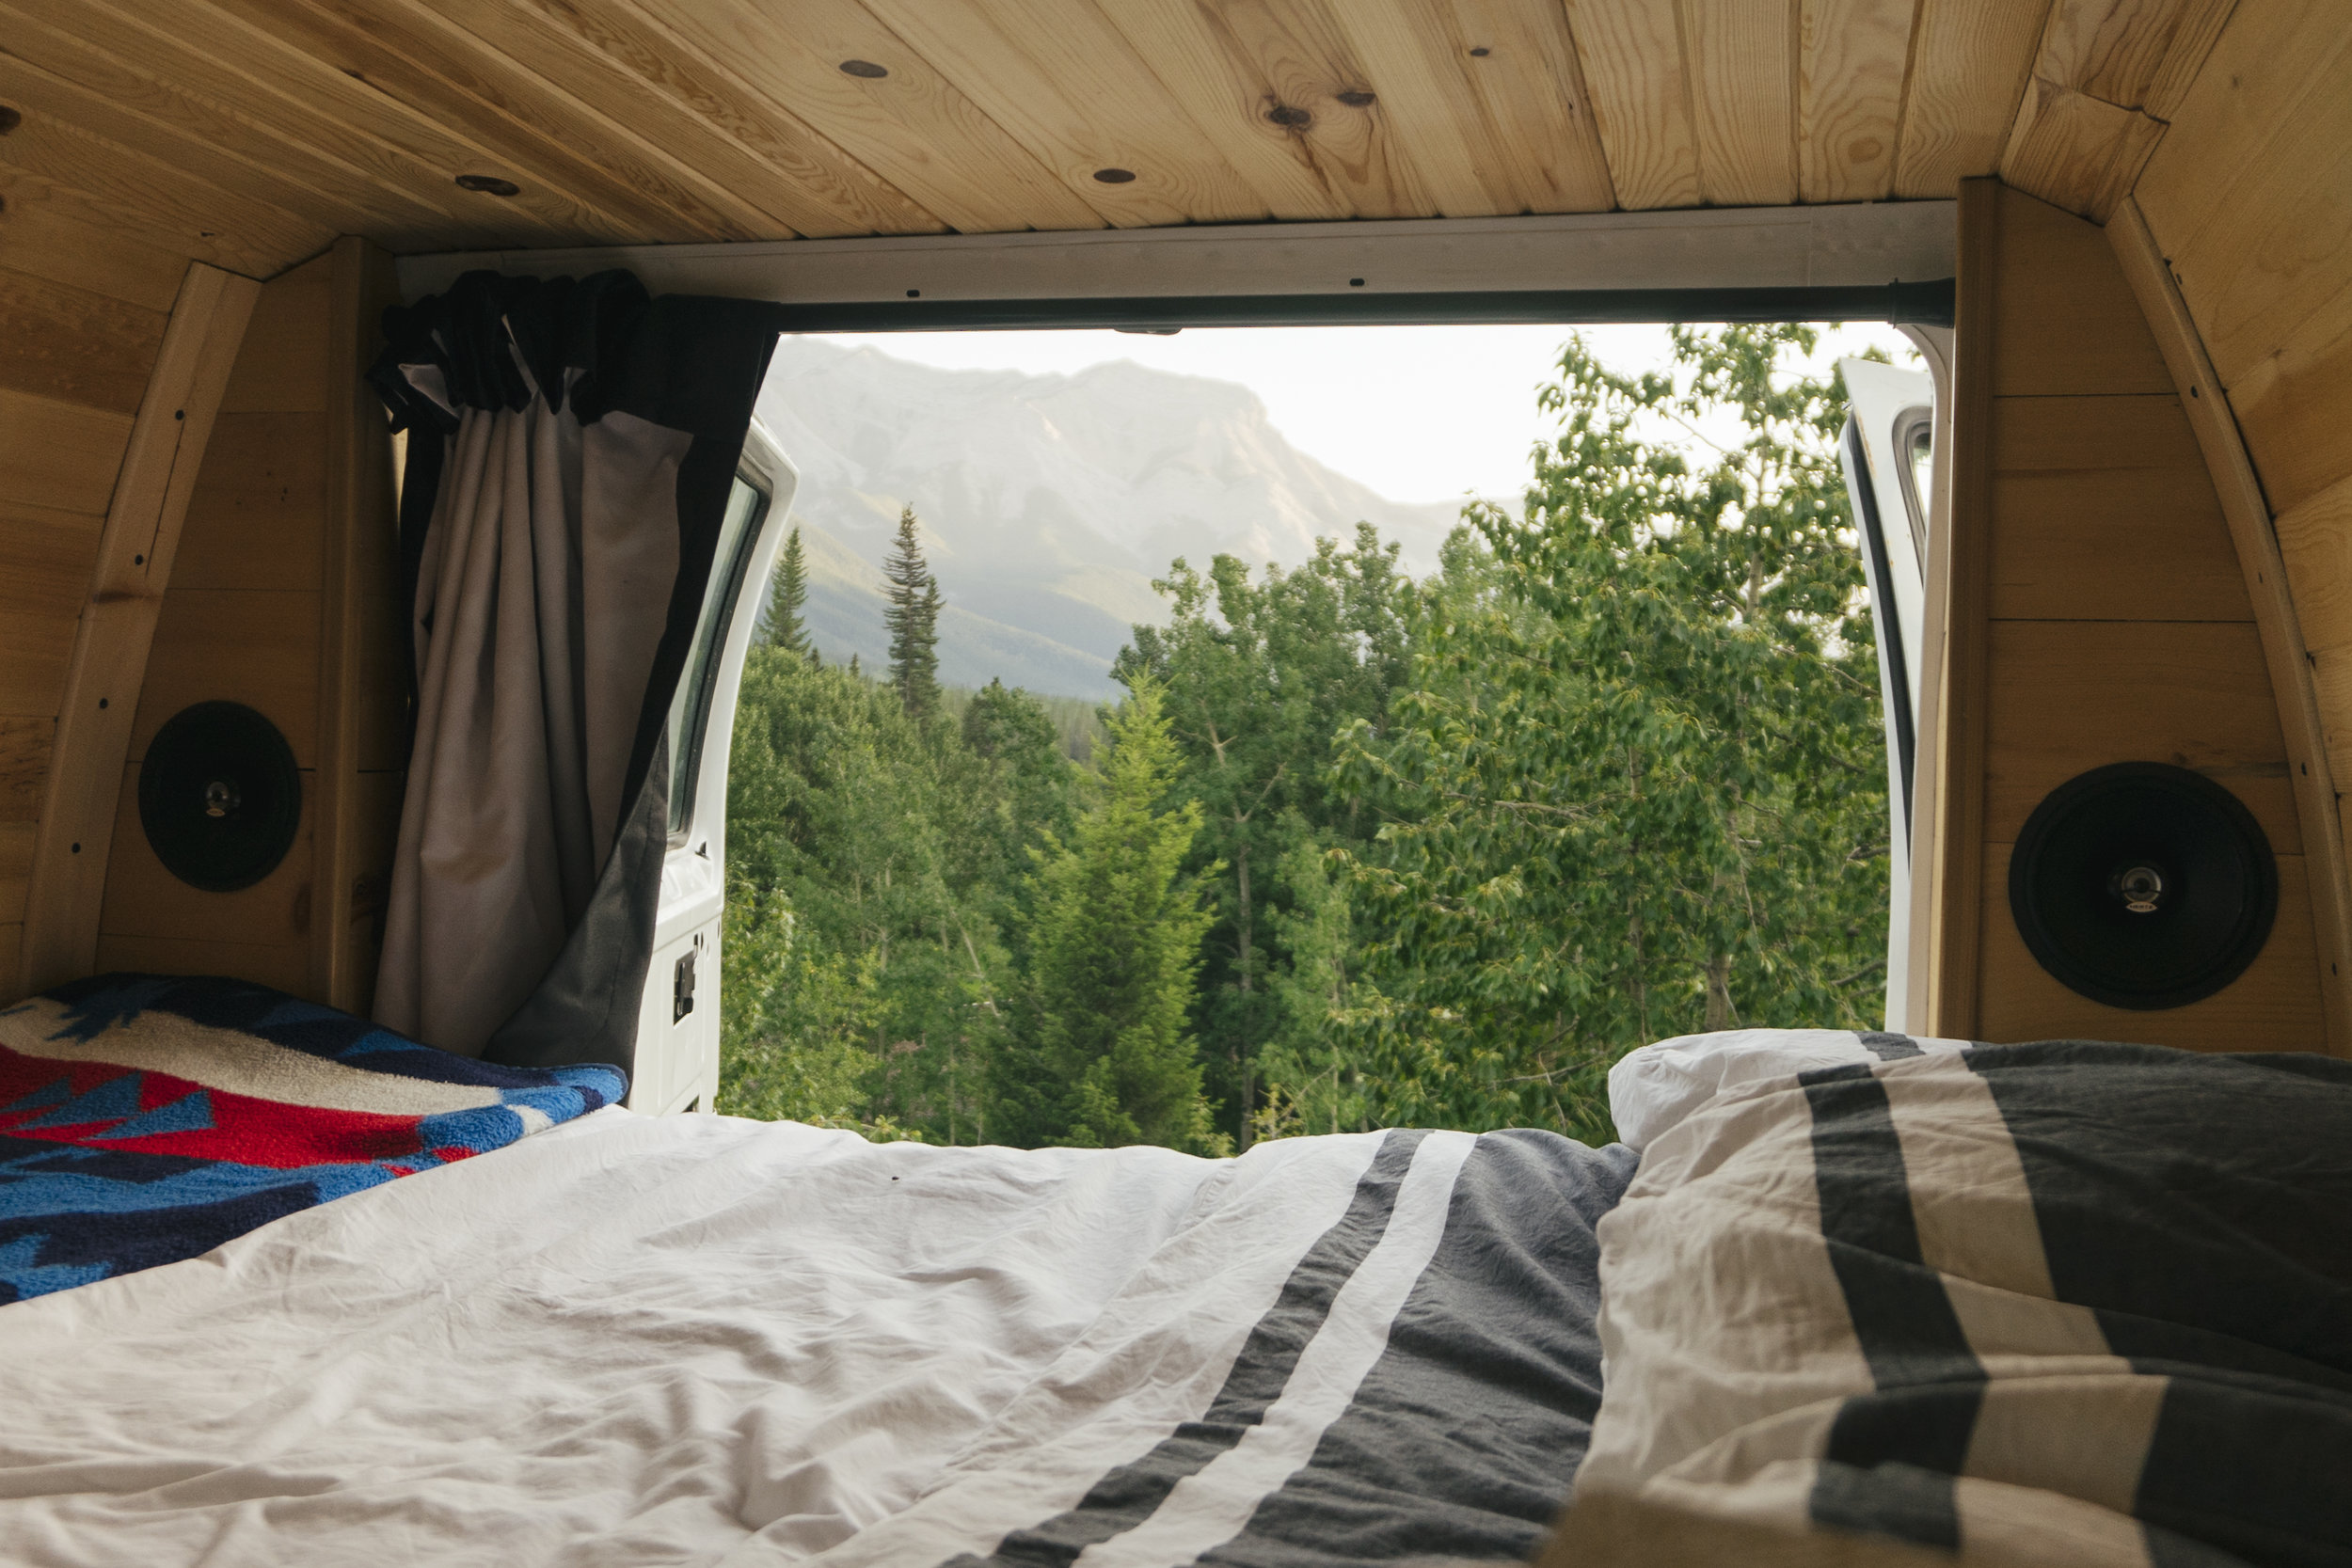
Bed is custom shaped hard foam with mattress topper. Roughly 5’9” long & 4’4” wide.
Curtains sewn from shower curtain and installed on shower curtain adjustable rod.

Custom designed/built wood interior.
Vinyl Flooring.
x2 Antique hooks.

Clothing drawer under bed.

x3 Drawers
Top: Kitchen ware
Middle: Food
Bottom: Everything Else


Installed sink/faucet taken from old RV.
Under is a pump controlled by the top right switch & two water tanks; one for clean one for grey.
Rest is storage for various kitchen needs including stove.
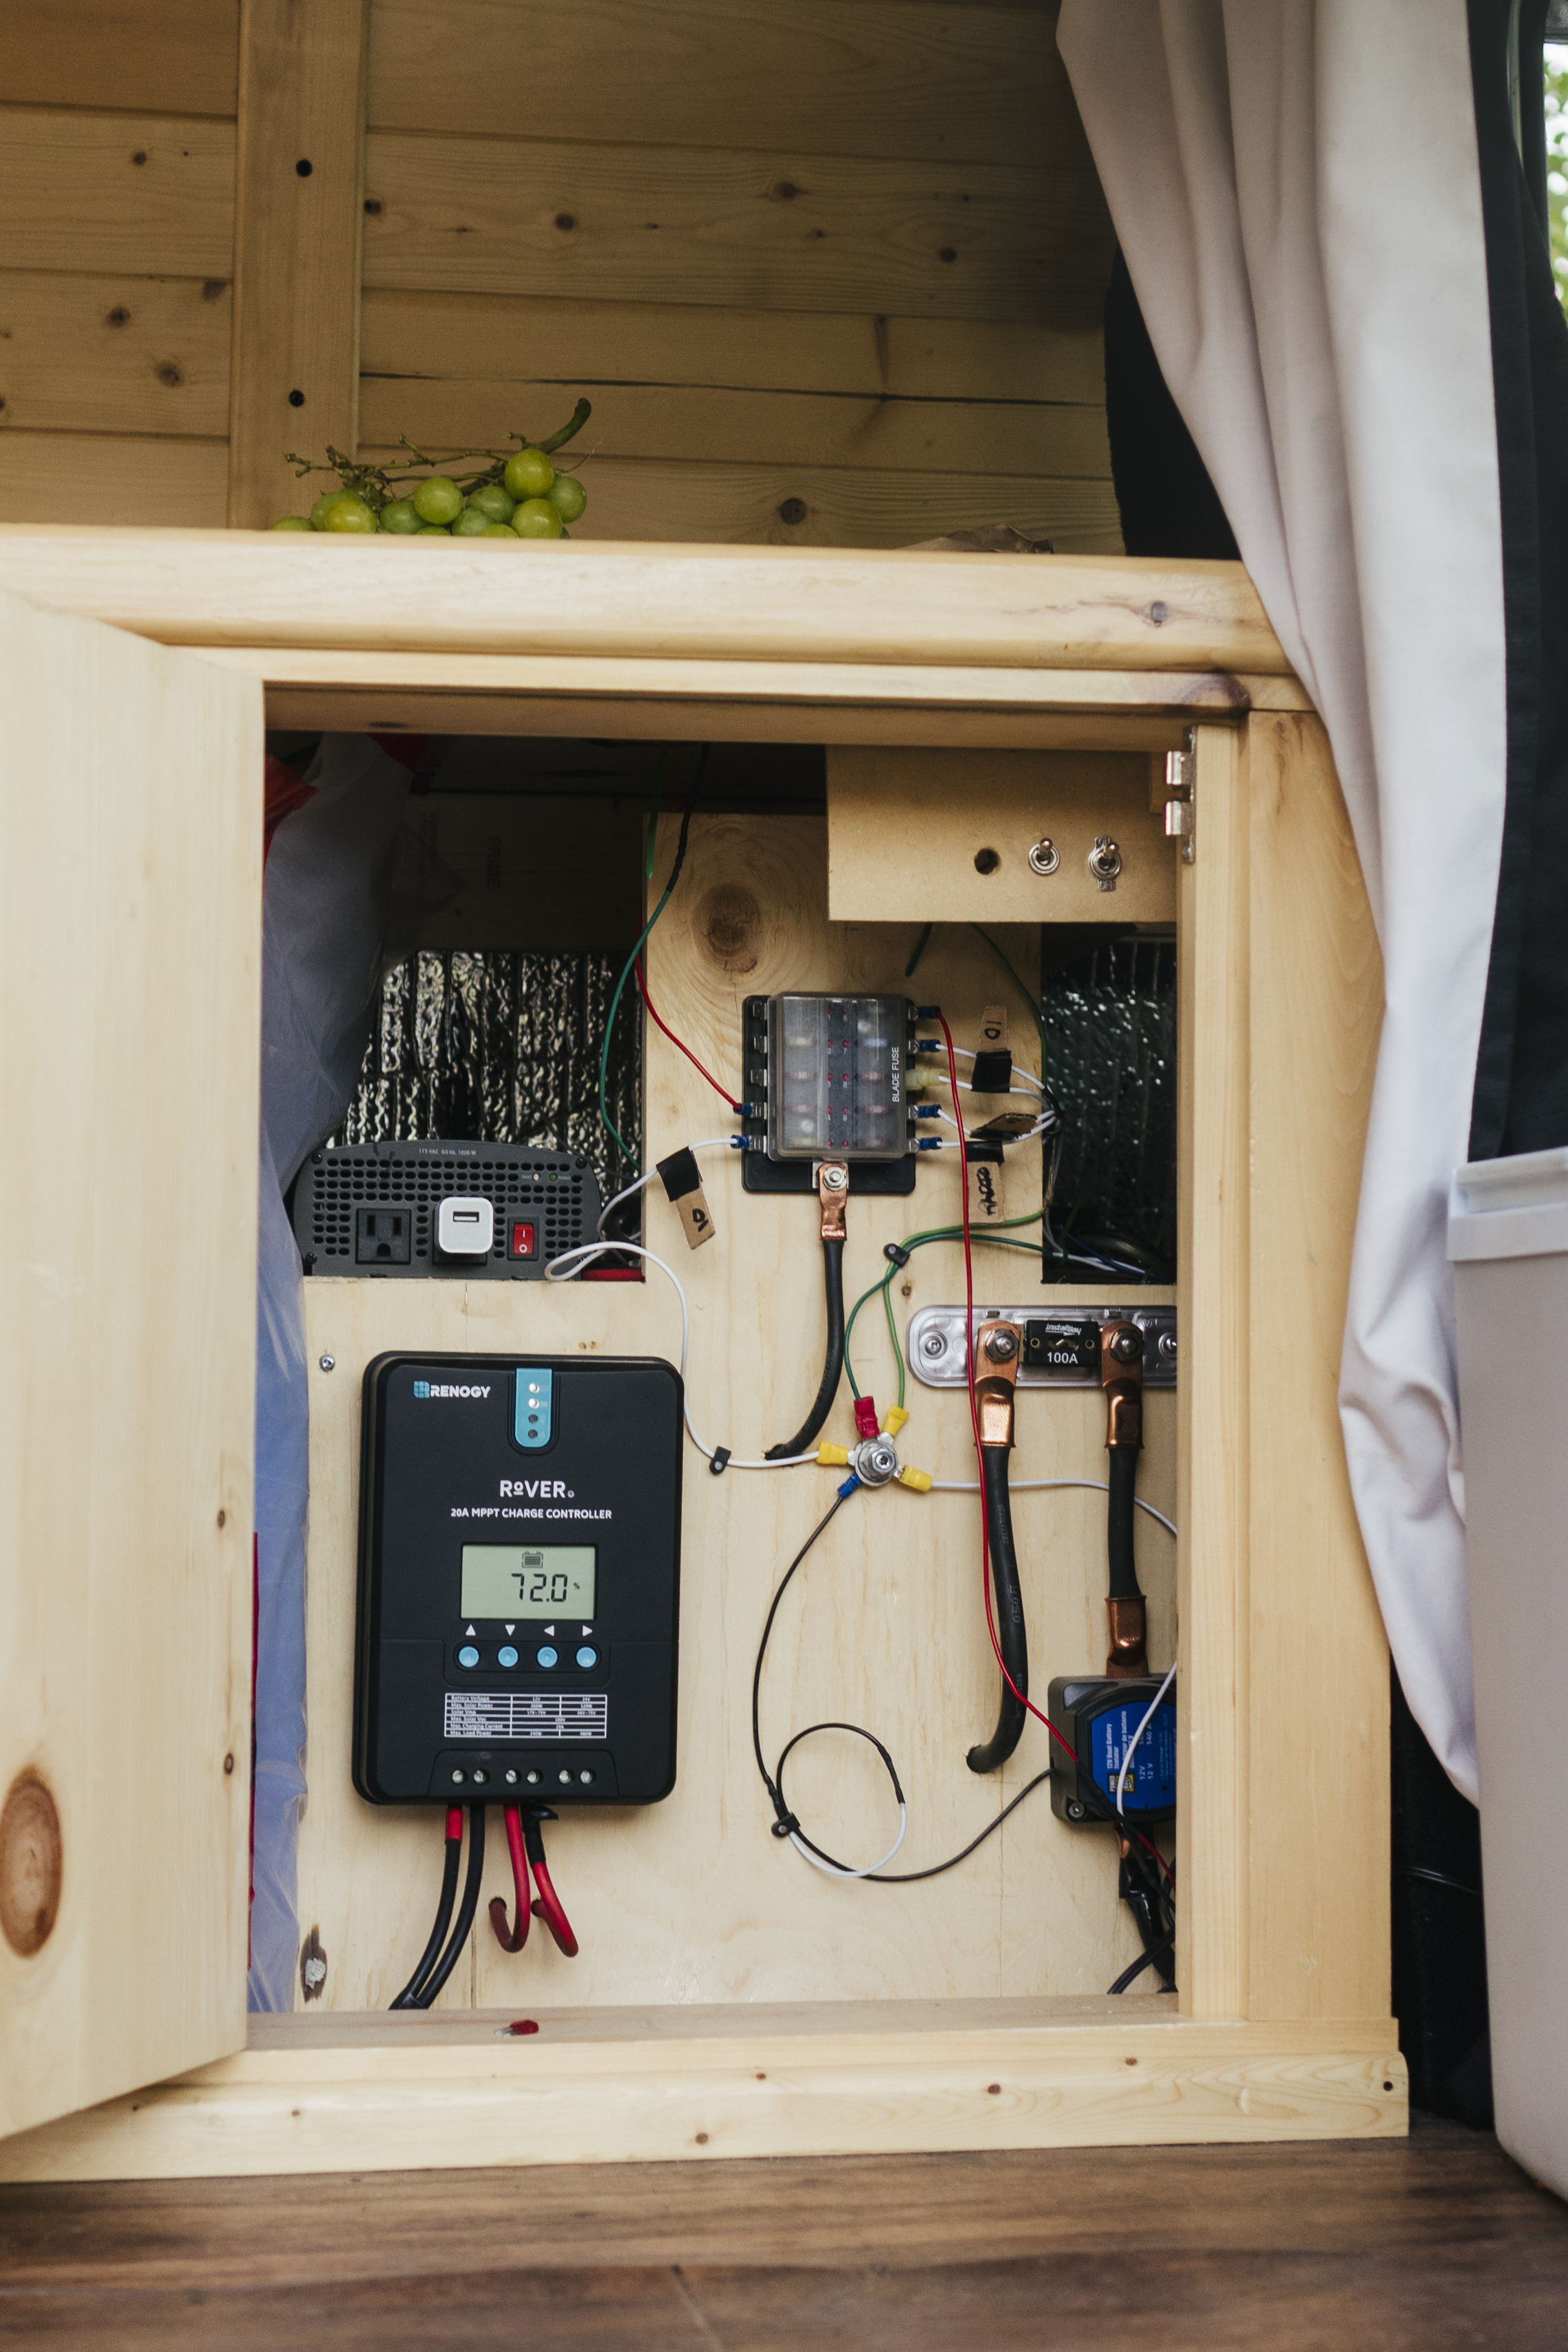
Solar Setup:
Behind: x2 AGM Deep Cycle batteries
Top Right: x2 Switches; one for switching radio power from engine battery to ‘house’ batteries, one to turn the fan on/off and switch directions.
Top Left: Inverter
Top Middle: Fuse Box
Middle Bolt: Ground
Bottom Right: ‘Smart Inverter’ that allows engine to charge battery while driving once engine battery is full. Off it is large fuse running to battery.
Bottom Left: Renogy Rover 40AMP Solar Charger w/ battery percentage readout.

Koolatron powered cooler.
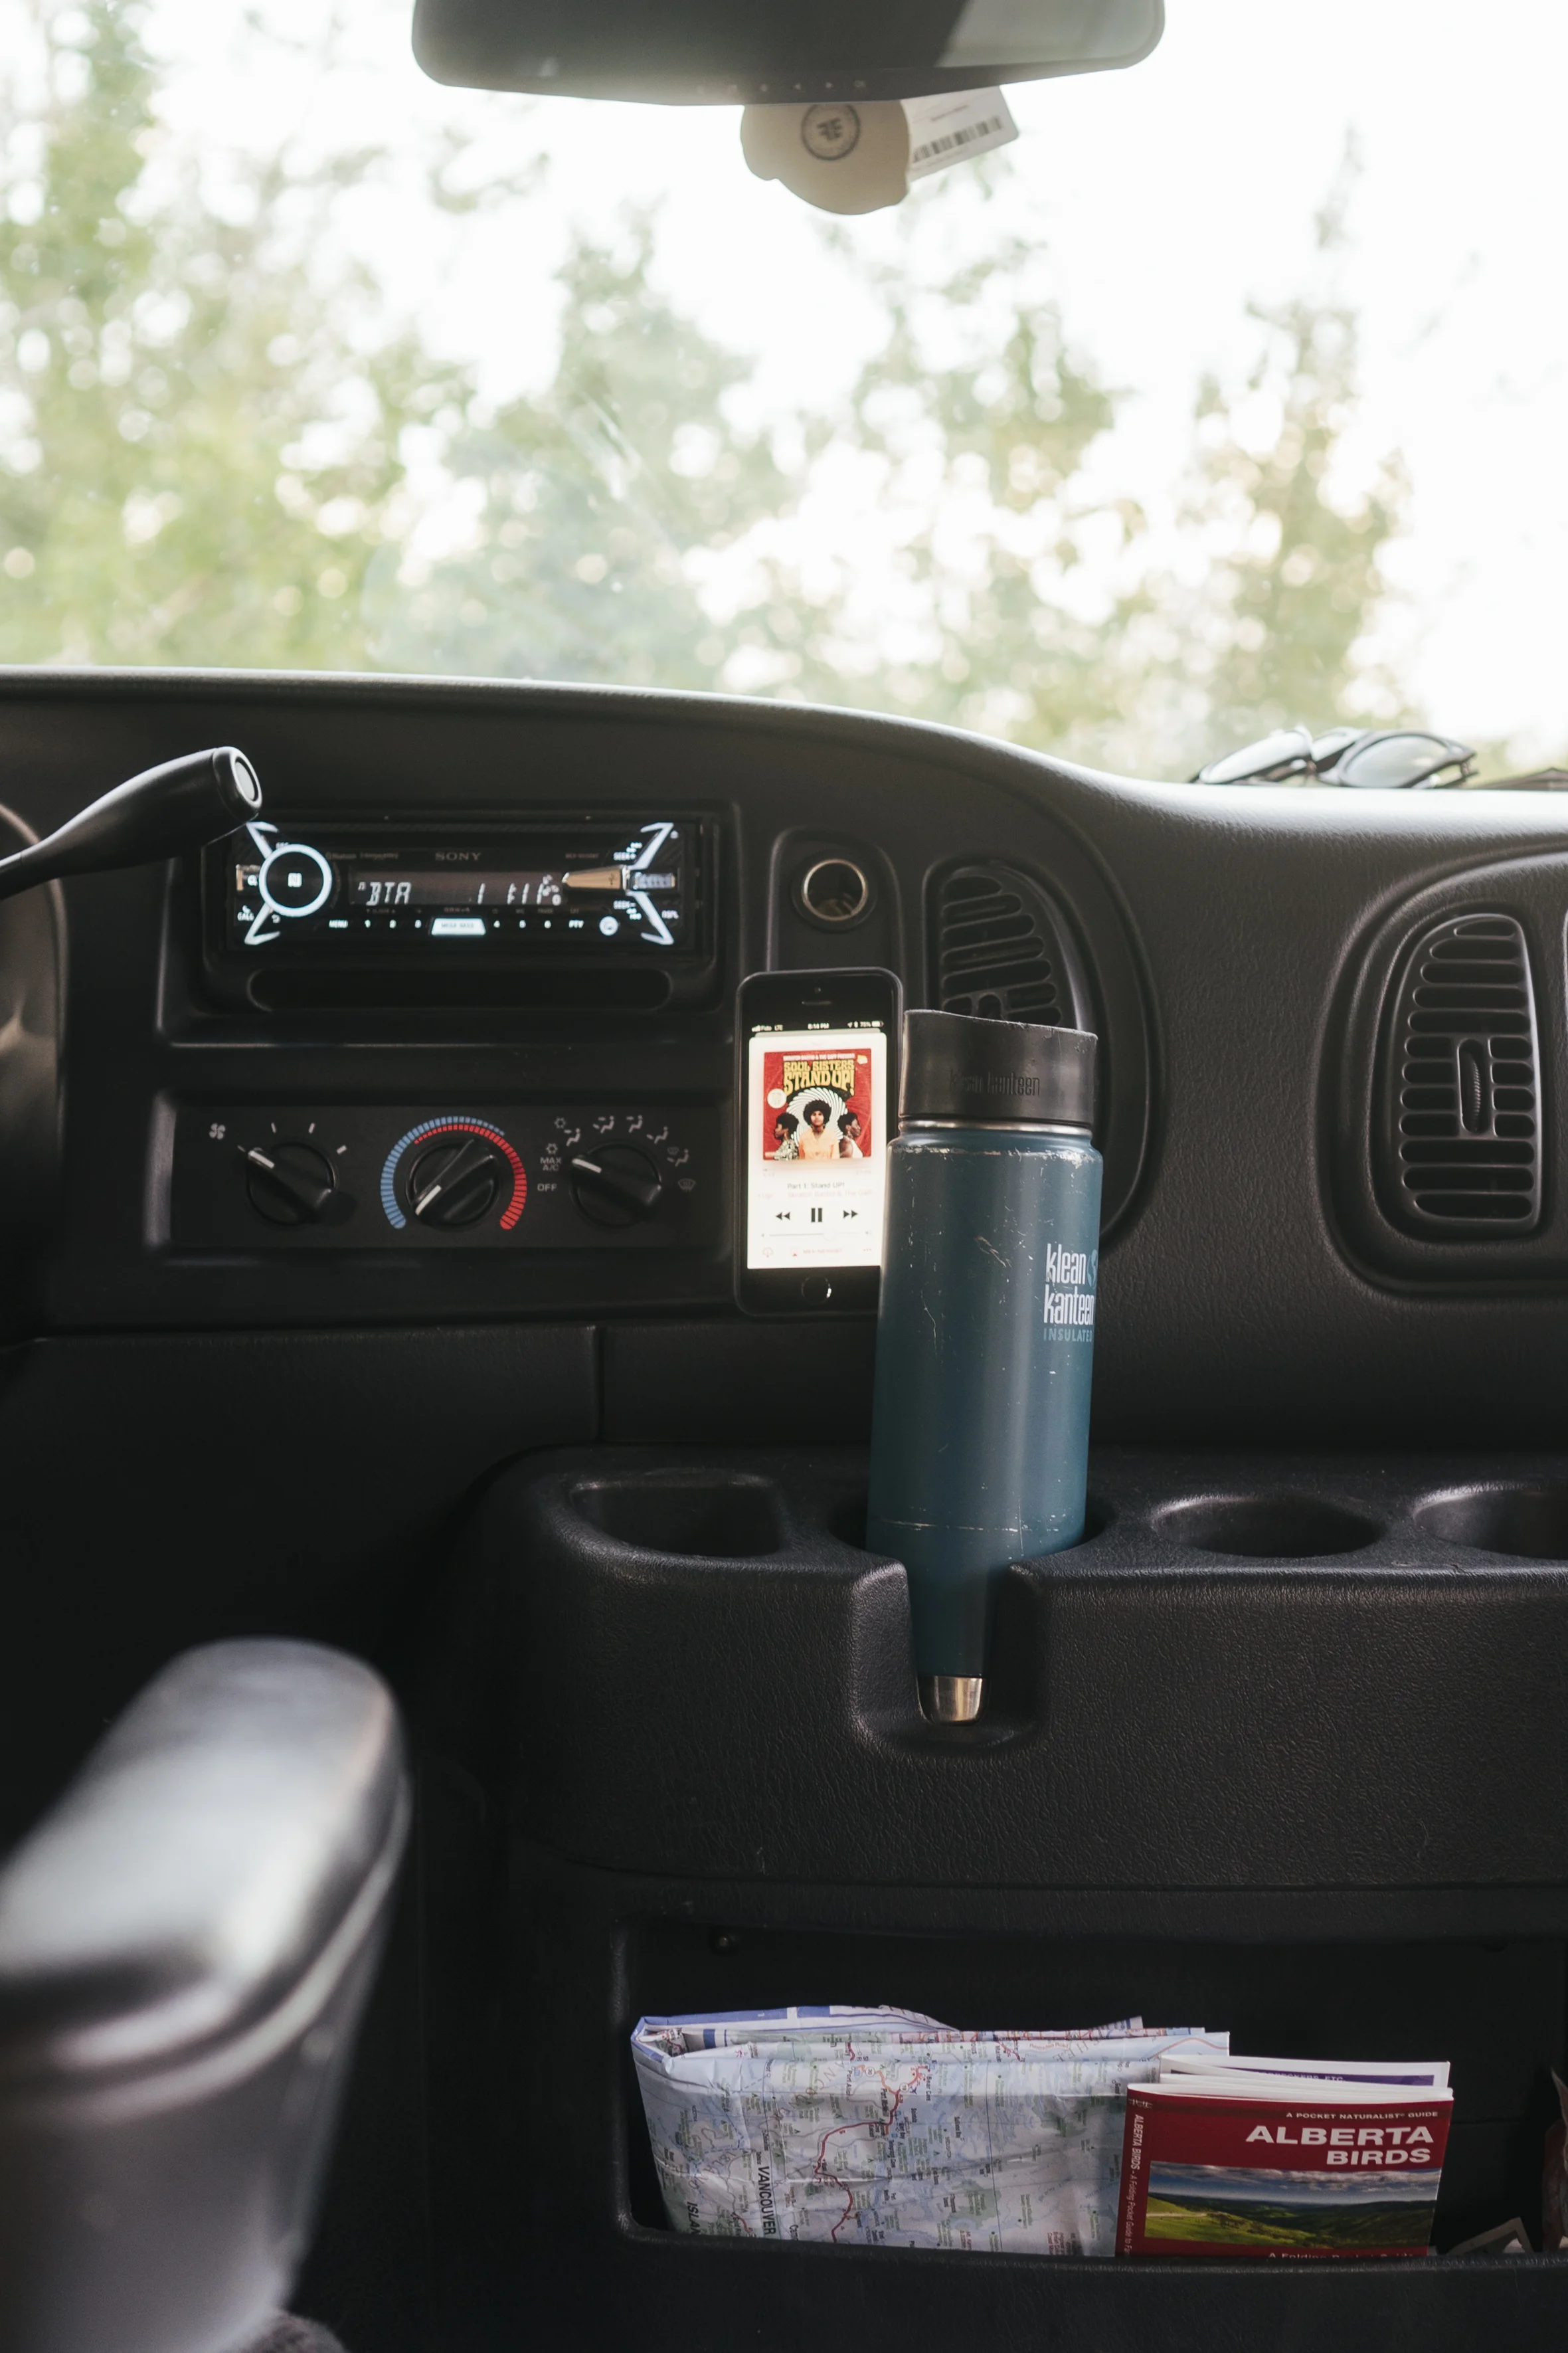
Upgraded deck with bluetooth to control music from outside.
Replaced rearview mirror with built in dash cam and built in rear view screen.
And that’s it! It’s definitely one of those projects that seems to never end, I’m constantly upgrading, fixing, and maintaining it and that can take up a lot of time/energy. There’s obviously a few things I’ve learned through the process that might have affected my early designs but overall I’m extremely happy with the way it turned out.
If you have any questions feel free to reach out and i’ll do my best to answer them. Might update this post if there’s anything I might have missed.
Cheers!
Dylan